
For ace combat 8 how to beat shadow 22, make your machine gun the main damage source: stay close, fire short bursts when he slows during a post-stall maneuver (PSM), and attack as he levels out and accelerates away. Fire one standard missile to trigger a defensive reaction, then follow with QAAM or SASM during recovery. Authorize your wingmen's special weapons and focus Shadow 22 first. After he falls, destroy the remaining Shadows and leave time for the dialogue, because the mission clock keeps running.
When should you shoot Shadow 22?
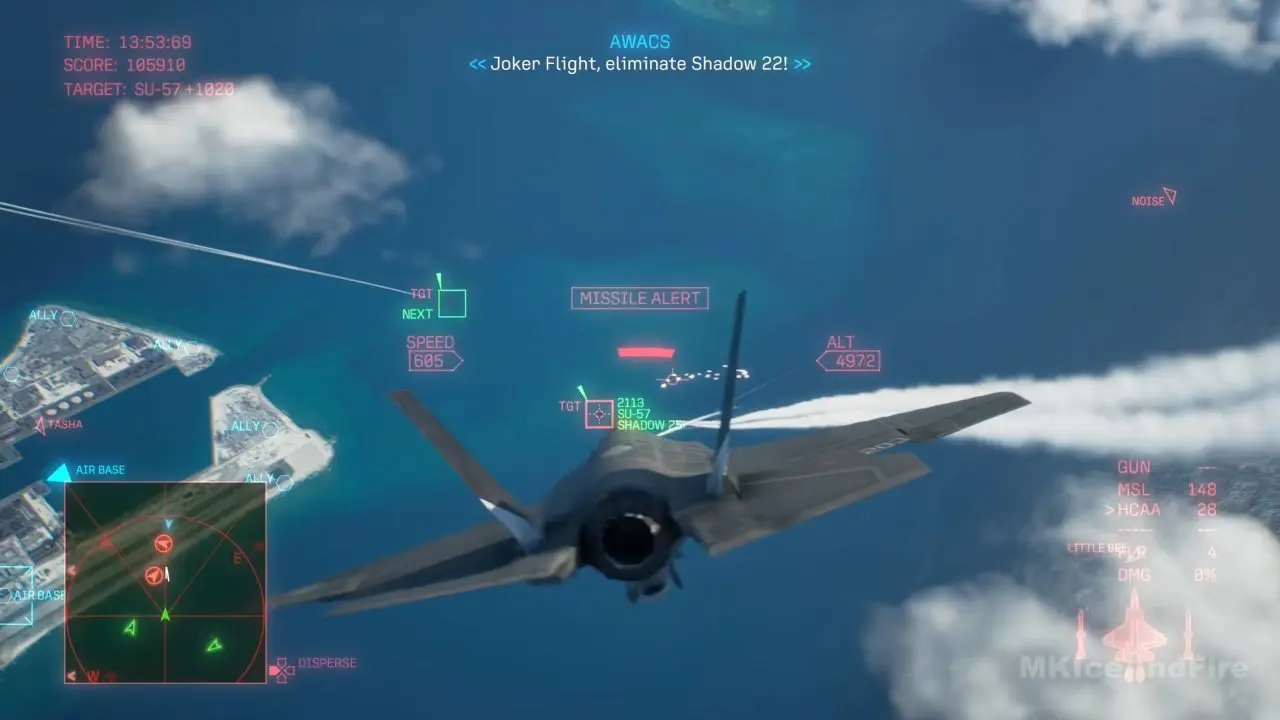
The Ace Combat 8 Shadow 22 fight happens late in Mission 28. Target Ares immediately and let your flight concentrate its special weapons on him.
Watch the maneuver instead of chasing every lock
Stay close enough to see him slow down and rotate. His kulbit stalls and flips the aircraft on the spot, and he can fire missiles backward at you. For the maneuver itself, see Ace Combat 8 PSM.
Use short gun bursts during the stall
When the angle is good, put the gun on him while he is moving slowly. You do not need to wait for a perfect position behind his tail before dealing damage.
Bait, then attack the recovery
Launch one standard missile to provoke flares or a defensive maneuver. Wait about a second after the maneuver ends, when he levels out and starts accelerating away, then send QAAM or SASM. Continue firing the gun if you still have an angle.
Avoid launching two missiles simultaneously while he is flipping: you can waste both opportunities. The exact enemy flare cooldown and capacity are not confirmed yet; use his visible recovery as the cue rather than counting a fixed cooldown.
If you cannot hold an angle, open some distance and turn back for a head-on gun pass. Fire as he approaches, then break off before entering his own gun range. This gives you another way to deal damage when chasing his tail is not working.
Which loadout should you choose?
Gun-focused setup — recommended starting point
Use the gun as your primary damage source regardless of your missile choice. Equip the automatic gunfire part, then add gun range and damage parts if you have space. If the sight feels jumpy, try Type B in the settings; its steadier feel is a handling preference.
SASM setup — recommended missile option
SASM explodes near its target, so a direct hit is unnecessary. That makes it a useful follow-up after flares or on a close head-on pass.
| Aircraft | What choosing it gives you |
|---|---|
| F-15C | A SASM option available on a first playthrough. |
| Gripen | An agile SASM alternative if you struggle to follow the kulbits. |
| MiG-21bis | The cheapest SASM carrier among these options, with a machine gun pod option too. |
Build around special-weapon speed, guidance, damage and capacity, plus the part that widens the SASM blast. With that setup, three or four hits is a stated expectation for each Shadow, rather than a guarantee across all difficulties. The difficulty and complete part values behind that count are not confirmed yet.
If you need funds for one of these aircraft, use Ace Combat 8 MRP farm before another attempt.
QAAM setup — keep the gun doing most of the work
F-22A or Su-57 with QAAM is another option. Add guidance parts and save the missiles for recovery windows; keep using gun bursts between those openings. If you rely heavily on missiles, an EA-18G Growler wingman with ESM support can improve tracking.
Is the fight finished when Shadow 22 goes down?
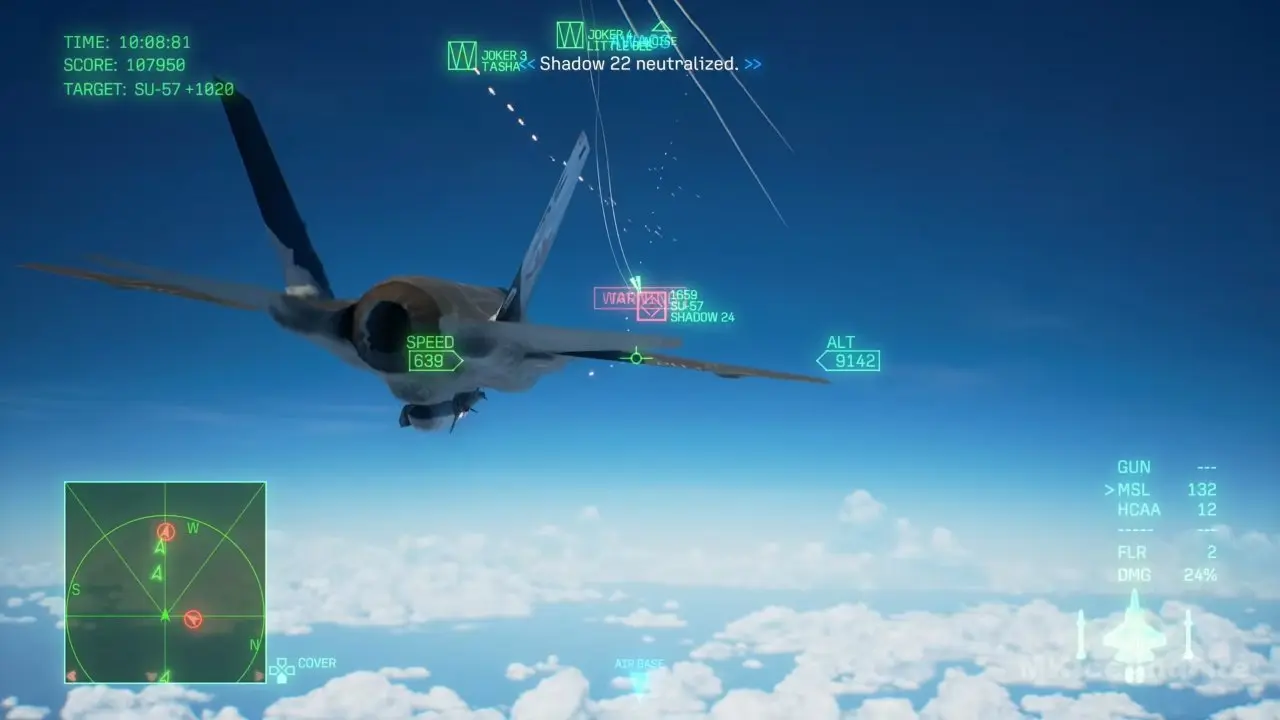
No. You can destroy Ace Combat 8 Shadow 22 before all his wingmen: he does not require you to clear them first. Keep attacking the survivors after the neutralized message. Two Shadows can still be alive when he falls.
Leave a margin on the mission timer. It continues during his death dialogue, so a last-second kill can still end in mission failure. If ammunition runs out, land to rearm; landing also repairs damage and refills flares. You can change difficulty at any time in the settings menu if you need help completing the fight.
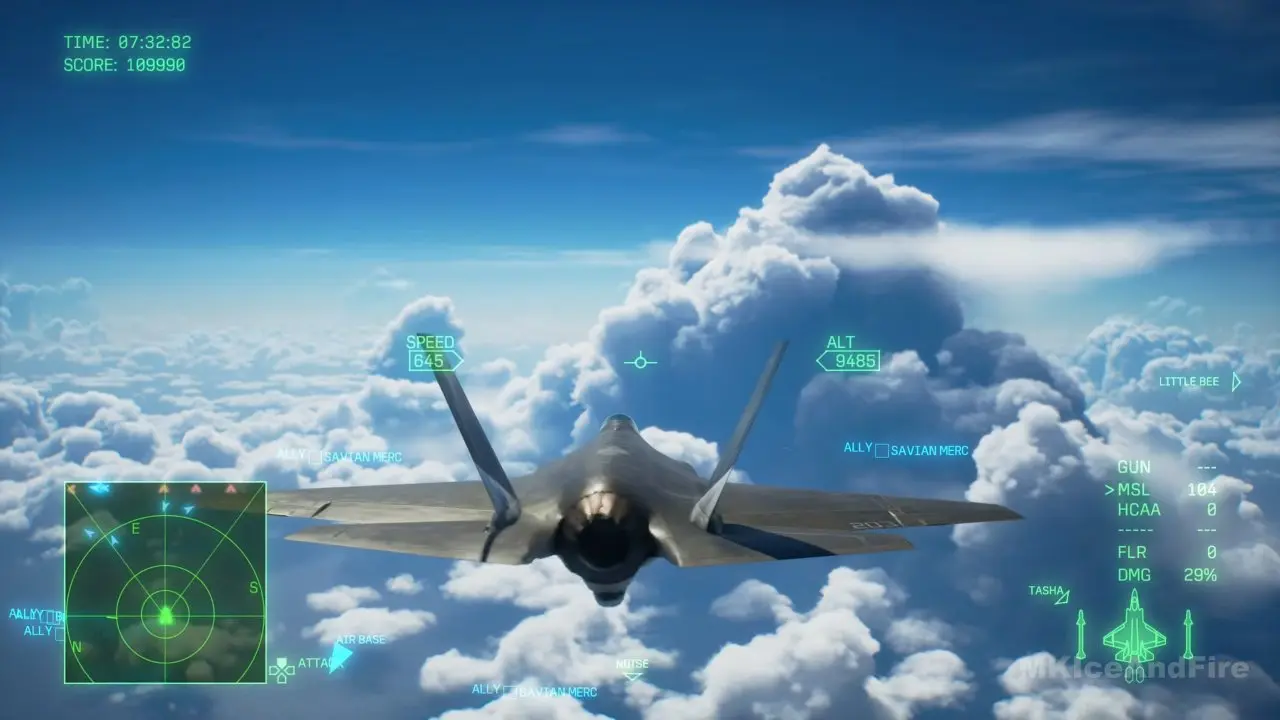
The Shadow encounter ends when there are no more Shadow contacts on radar. The next sequence allows you to pursue Moon 11, with a refueling drone on standby.